Firstly, see if you can figure out what's playing on the TV - answer is at the bottom of the blog.
Must have taken a few happy snaps of the 'almost' aft fuse,
This is F-14148C which is one of the two doublers on the top side of the diamond shaped doubler underneath.
F-14147-L riveted in place. I know, a little dirty.
and the right stiffener clip F-14147-R
F-14147-R and the F-14148B doubler...
and finally, the large F-14148A diamond shaped doubler underneath the fuselage.
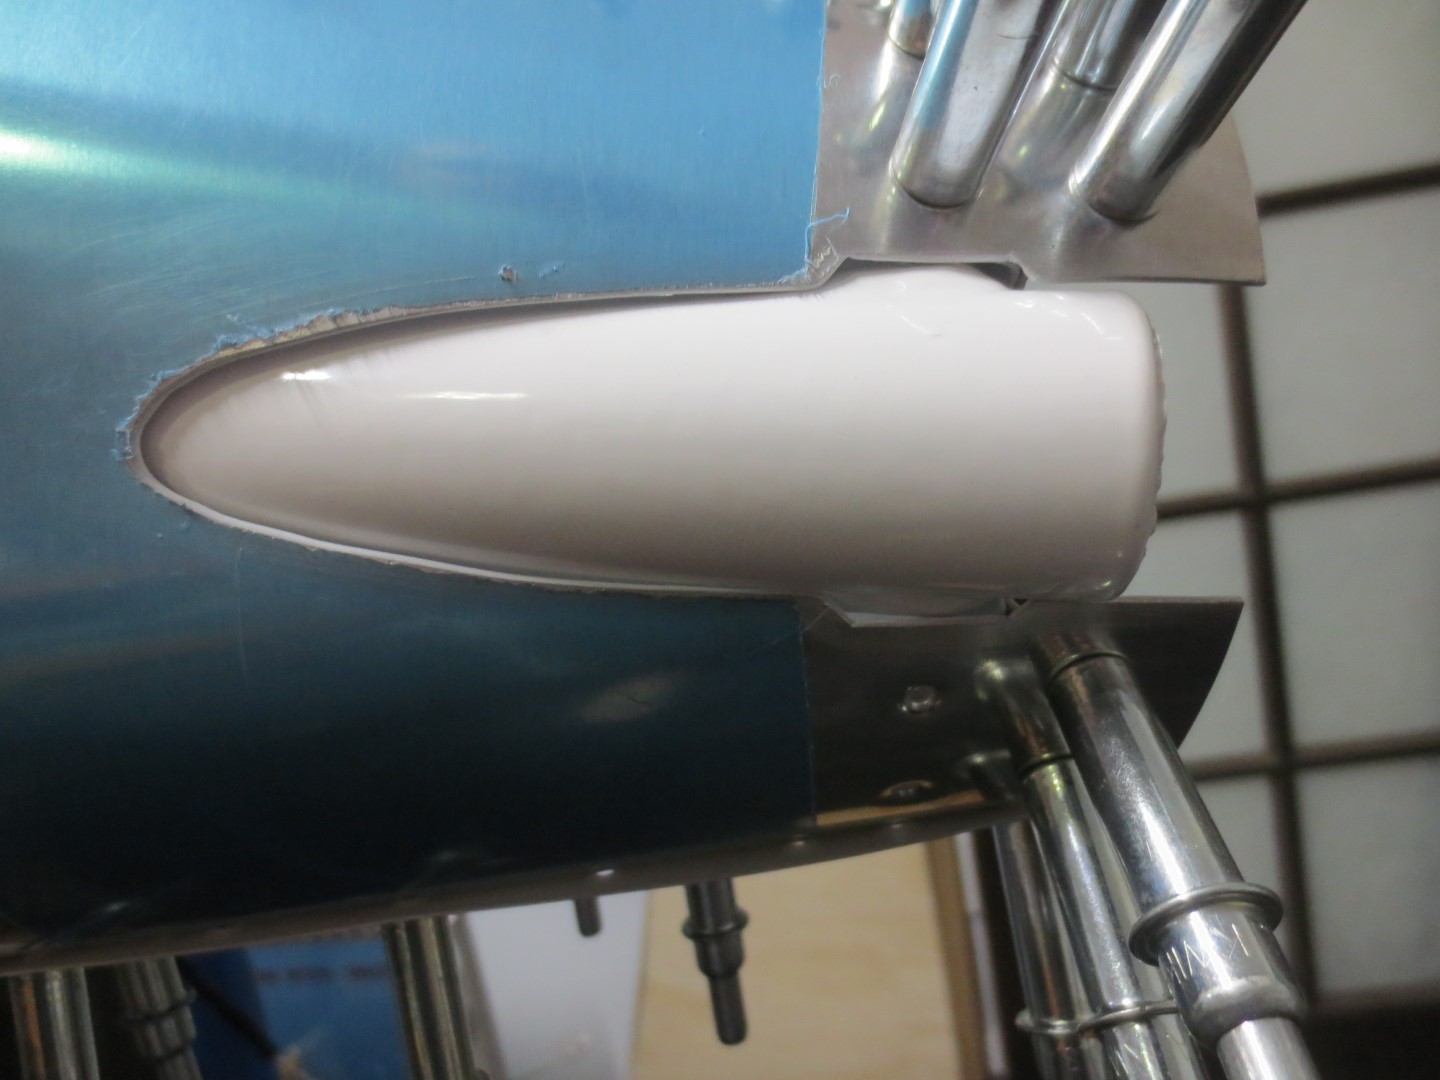
Now moving back to fitting the F-01479 Aft Bottom Skin. I was pretty happy with how the reworks went on the Aft Bottom Skin and how hugged the tail wheel support.
But it wasn't curved enough. More sanding needed. I need a constant gap around Tail Dragger Spring Mount. The manual says "Trim as necessary to clear U-00018". In that case, I'll aim for about a
1-2mm gap.
Didn't miss by much...
This is how much I guesstimate I need to remove.
First attempt was still touching so I had to remove a little more.
Here are a few shots of the F-01479 Aft Bottom Skin almost ready to rivet.
Inspection hole lines up perfectly.
I countersunk the wrong hole when I wasn't paying attention. There are obviously more holes than required as the extra holes cater for the nose wheel design - specifically the tie-down bracket.
No harm done. Just saving a little more weight. Should be able to put fuel in now.
Removed the Aft Bottom Skin again to rivet the Tail Wheel Spring Bracket in place.
this is the last time I'll see this part of the rear bulkhead...
Boom! Bracket riveted.
Now to re-position the aft bottom skin and insert some spacers between the Spring Mount Bracket and the F-01411 bulkhead in anticipation of riveting the whole assembly together very soon.
Really starting to look like a rear fuselage. Now to begin the tedious task of riveting the side skins on permanently.
The scene on TV is a Justin Timberlake music video when he was getting all intimate with Scarlett Johansson....not Gone With The Wind.